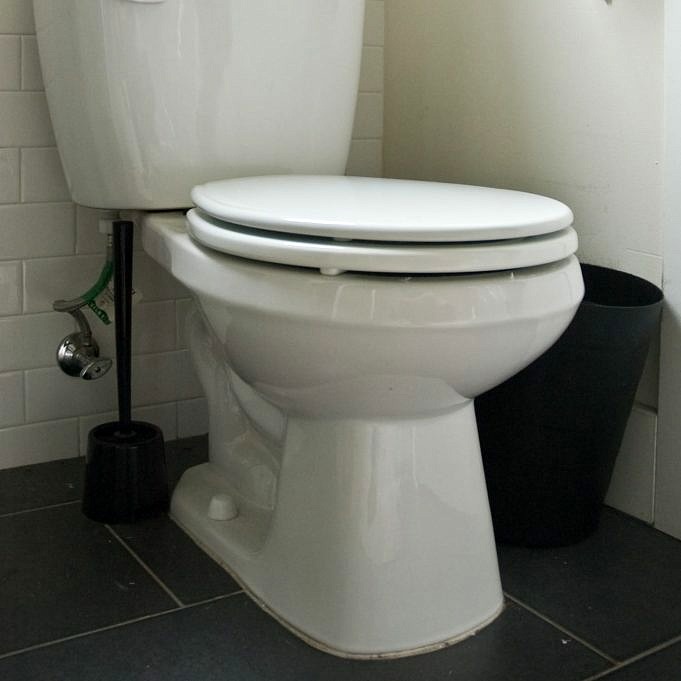
Most homeowners are concerned about water pooling around the toilet base and bathroom floor. But before you think about flood damage or expensive repairs, remember that toilets are simple and reliable tools that are easy to maintain. There are very few components that can break or become damaged.
We will be focusing on the leaks from the base of your toilet. Then we will show you how to remove it from the floor and replace/inspect the components underneath.
We will also briefly address other issues, such as toilets that run constantly or tanks that don’t fill up properly.
Base Of The Toilet Leaking
Before you start to remove the entire toilet, make sure you check the following items.
If there is any moisture around the tank and bowl, wipe it up. The problem may be as simple as condensation forming on the sides of your toilet if there isn’t much water.
Do a visual inspection of the toilet. You should inspect the entire base of the toilet for cracks and other damage. You can try to rock the toilet back-and-forth. It should be rigid and not easily moveable. Remove the caps, tighten the bolts and fix it to the ground.
If this fails to stop the leakage, or if the tank appears damaged or out-of-place, remove the lid and add a teaspoon of food coloring to the water. Flush the toilet after ensuring that the base is dry. After waiting about half an hour to an hours, take a paper towel, or whitecloth, and wrap it around the toilet’s base. If you see any food coloring, it is likely that there is a leak underneath the toilet. The whole thing must be removed.
Once you have determined that this is the case, you can remove the toilet by removing the flange or damaged base.
Turn off the water supply to the toilets at the wall. To empty the tank, flush it with water. Next, use a sponge or a cloth to clean out the bowl and tank. The next step is to separate the tank and the bowl. Two nuts should be found on the tank’s bottom to fasten it. The hose that connects the tank to the main water supply will also need to be removed.
After removing the tank, you can loosen the bolts holding the toilet bowl to the ground (and the flange beneath) by removing the closet bolts. To remove any seals or caulk from the floor, you can use a thin metal putty blade. You want to make sure that the toilet is pulled out completely.
Now that the toilet is removed, inspect the condition and seal of the wax seal. You should also inspect the underside for damage.
Make sure the flange is securely fastened to the floor. It will need to be replaced if it is damaged. It can be difficult to replace the flange, but we will get back to it in a moment.
You may be able replace the wax seal if the flange isn’t loose, in good condition and securely fastened to the floor. Clean the area well and remove any old seals.
You will need to take the old flange off the piping coming from the floor if you have determined that it needs to be replaced. You can do this in one of two ways. You can mount the old flange around the outside piping. If this is the case, you have the option to simply buy a suitable sized flange to fit the within piping.
You will need to either remove the old flange from the pipe or make it smaller before you can install a new one. It can be quite difficult depending on the glue used. This video shows you how to remove the old flange.
It is also worth noting what type of flooring the flange attaches to. A damaged or leaking flange attached to subflooring will indicate that it is likely that the subflooring has been affected and will need to also be replaced. This is where repairs can become complicated and may lead to some snags.
The flange may be attached directly to concrete slabbing. In this case, it will only take a few minutes to remove the old one and install the new one. There are no other options than to replace the toilet if it is damaged or cracking.
Other Toilet Problems And Leaks
A faulty flapper could be the cause of a running or dripping toilet.
The rubber flapper seals the tank and prevents water from getting into the bowl. When you press the handle to flush, the flapper will open, allowing water from the tank to flow into the bowl. A faulty flapper will cause water to leak from the tank into the bowl. To check if this is true, add food coloring to the tank water. If the dye ends up in the bowl water , it means that there is a leak.
If the flapper does not cause the problem, the leak may be coming from the drain chair and the entire flush valve apparatus will need to be replaced.
In-tank bleach cleaners can quickly cause damage to the rubber flapper, and other components within the tank. Any liquid cleaners should be added to the bowl of water, not the tank.
You could be experiencing problems with your tank’s ability to re-fill properly after a flush. This could be due to a problem with your fill-valve or float mechanism.
Sediment may build up at the fill-valve caps, making it difficult to seal and preventing water from entering the water supply line.


